


Installation
NextcloudPI Installation
How to install Nextcloud on RaspberryPI using the NextcloudPI Image
First, lets Format the RaspberryPI MicroSD card
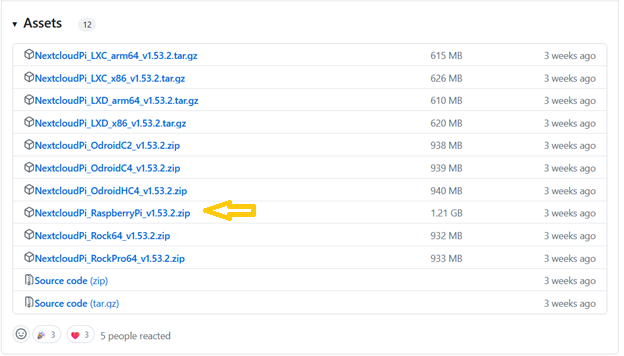
Now lets download the latest version of NextcloudPI for RaspberryPi. Link
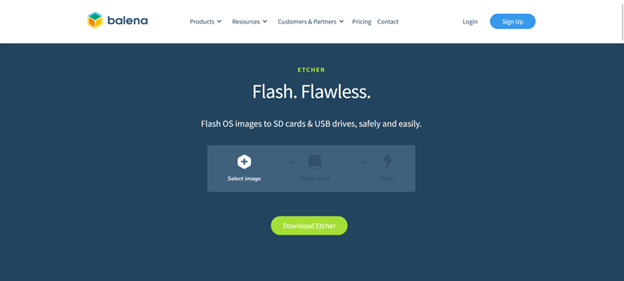
Next, lets install Etcher. Link
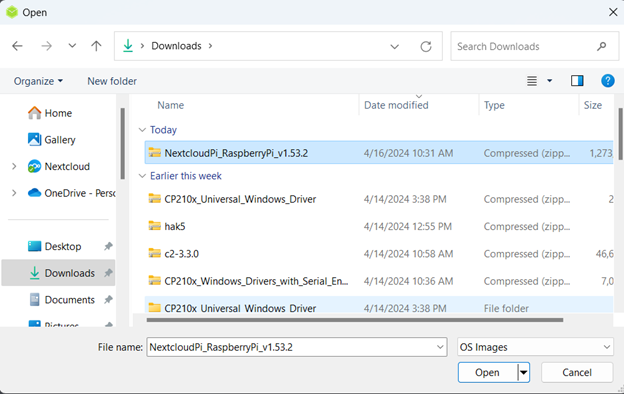
After installed, select flash from file.

Select the zip file with the nextcloudPi OS we just downloaded
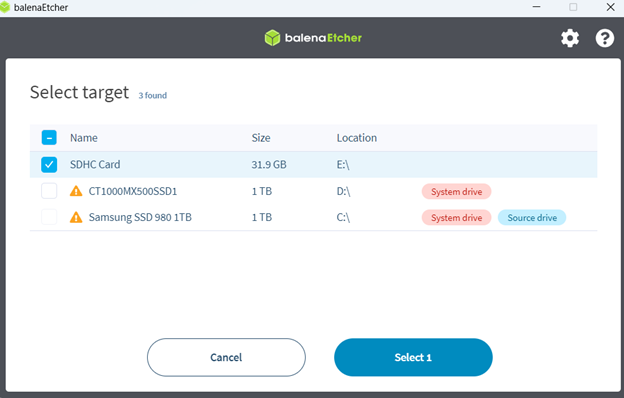
Press Select Target and Select the MicroSD card.
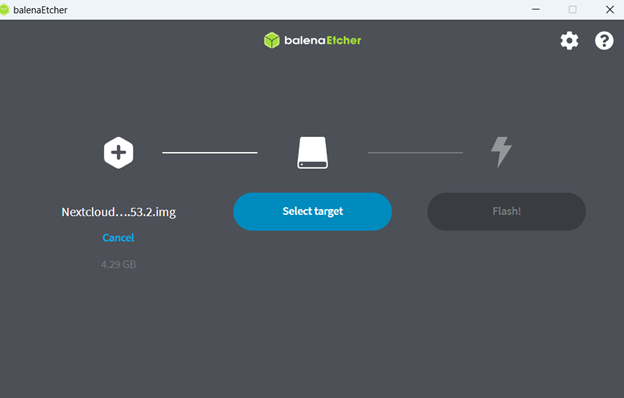
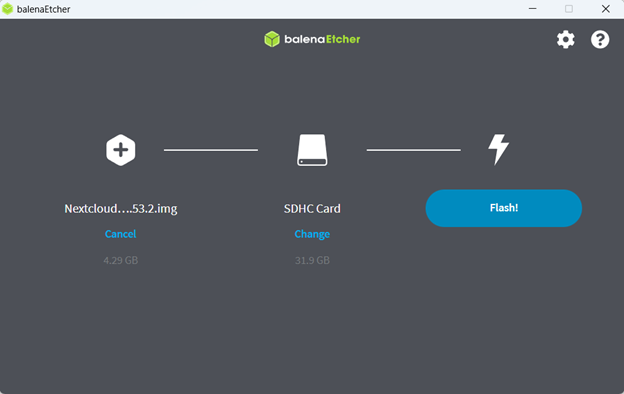
Now press Flash.
Some programs such as Acronis Cyber Protect may flag the files during the Flash.
If so, you will have to Re-format and Re-Flash.
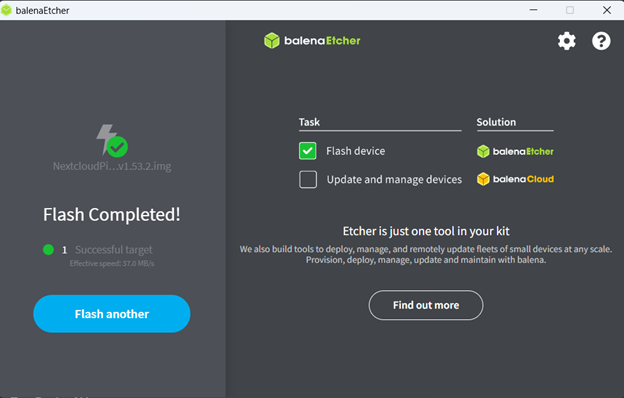
If successful, Put the MicroSD Card back into to RaspberryPI
First Boot
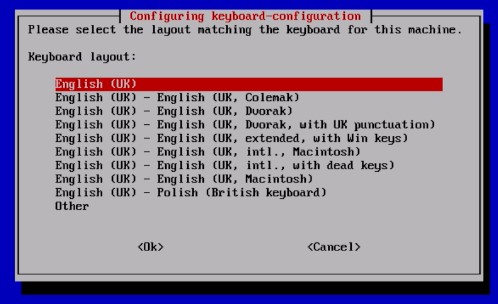
Keyboard Layout
Select your keyboard layout
Leave the Pi user Unchanged
Press ENTER

Create your user
Now you can create your user
After your user is created, Login.
Network Configuration
Now run
sudo raspi-config
Go to System Options > Wireless LAN
Select your Country
US United States is towards the bottom
Press OK
Enter your SSID
Enter your Network Password
Press Finish
Now lets make sure the RaspberryPI is updated.
sudo apt update
sudo apt upgrade
sudo reboot
Configuring Nextcloud
Run the NextCloudPi configuration tool
sudo ncp-config
Click CONFIG
Scroll down to nc-webui and press ENTER
Type yes in the feild
Exit the Configuration Tool
This may take awhile
Activating Nextcloud
Lets start by finding you IP Address.
ifconfig
You may need to install Net-Tools
sudo apt-get install net-tools
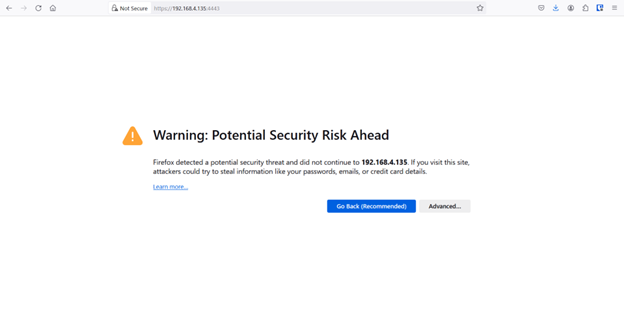
Now go to your Web Browser and type in https://<IP from ifconfig>:4443
Ex. https://192.168.4.135:4443
You should get and error similiar to Warning: Potential Security Risk Ahead
Press Advanced > Accept Risk and Continue
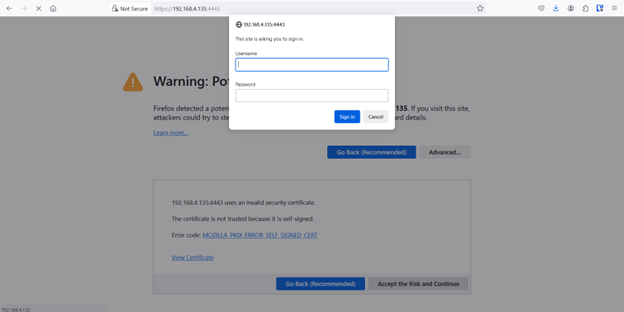
The Default Login is
User=ncp
Pass=ownyourbits
You should now see the Activation Page
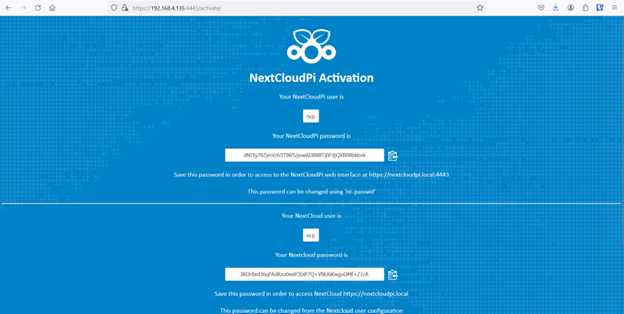
Store the Users and Passwords in a safe Location.
Press Activate
Activation will take some time
You may receive a popup warning, select options and allow popups
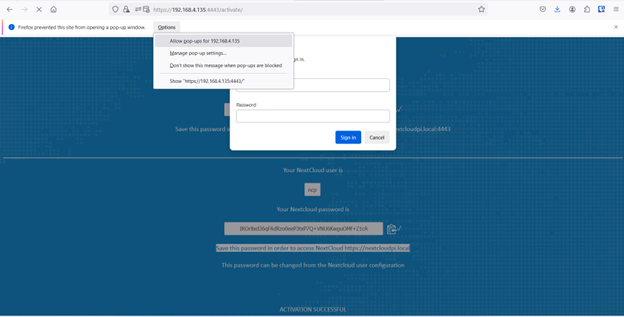
It should open up another tab
Input the credentials for nextcloudpi interface
Mine are User ncp Password dNtTg70ZynVzh5TB65zjowADB8BTj0FdjQXB08bkbvk
I had to do this twice
You should now see this screen
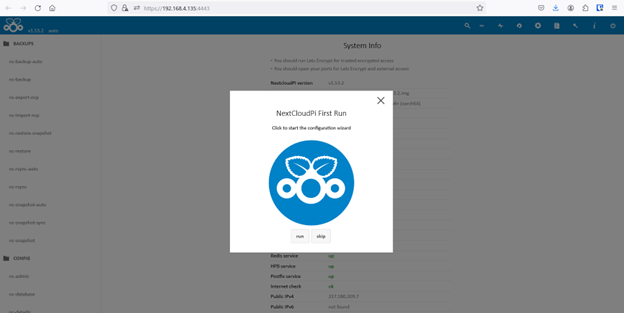
Click Skip
Nextcloud First Run
Now lets go to the login screen
https://192.168.4.135
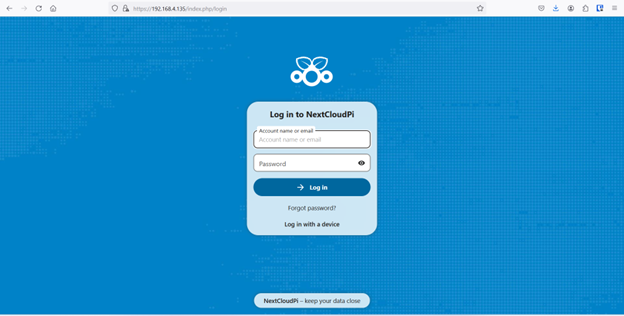
Sign in with the Credentials listed earlier
Mine are
User=ncp
Pass=IROr8xd36qFAdRzo0eeP3txP7Q+VNU6KwguOMf+Z1cA
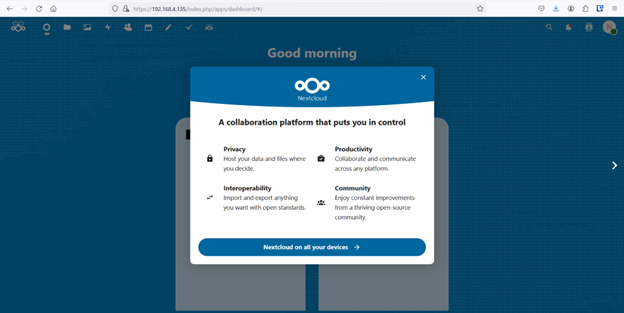
Nextcloud is now Running
Checking for Errors and Warnings
For the remainder of this tutorial, I will be using SSH
Go to the User Icon at the top right and click Administration Settings
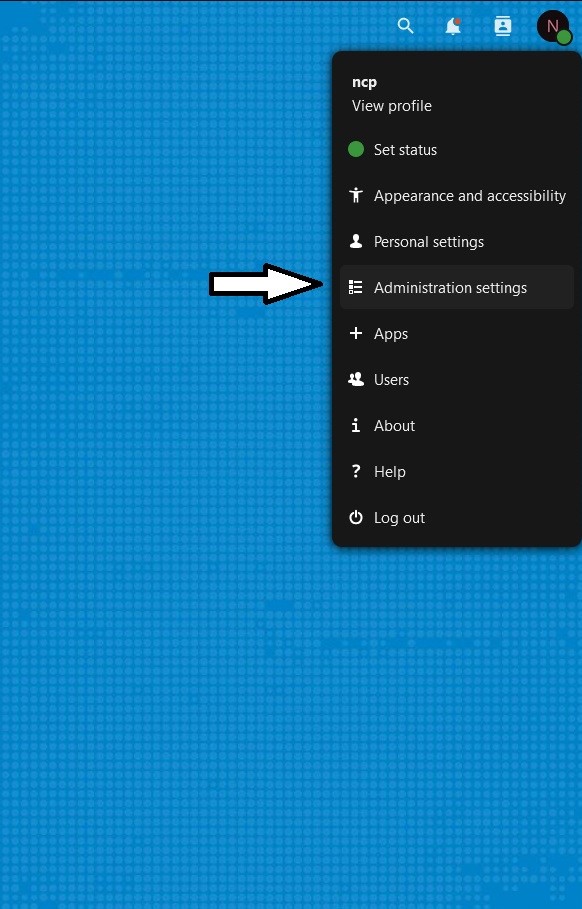
Here you can check for Warnings
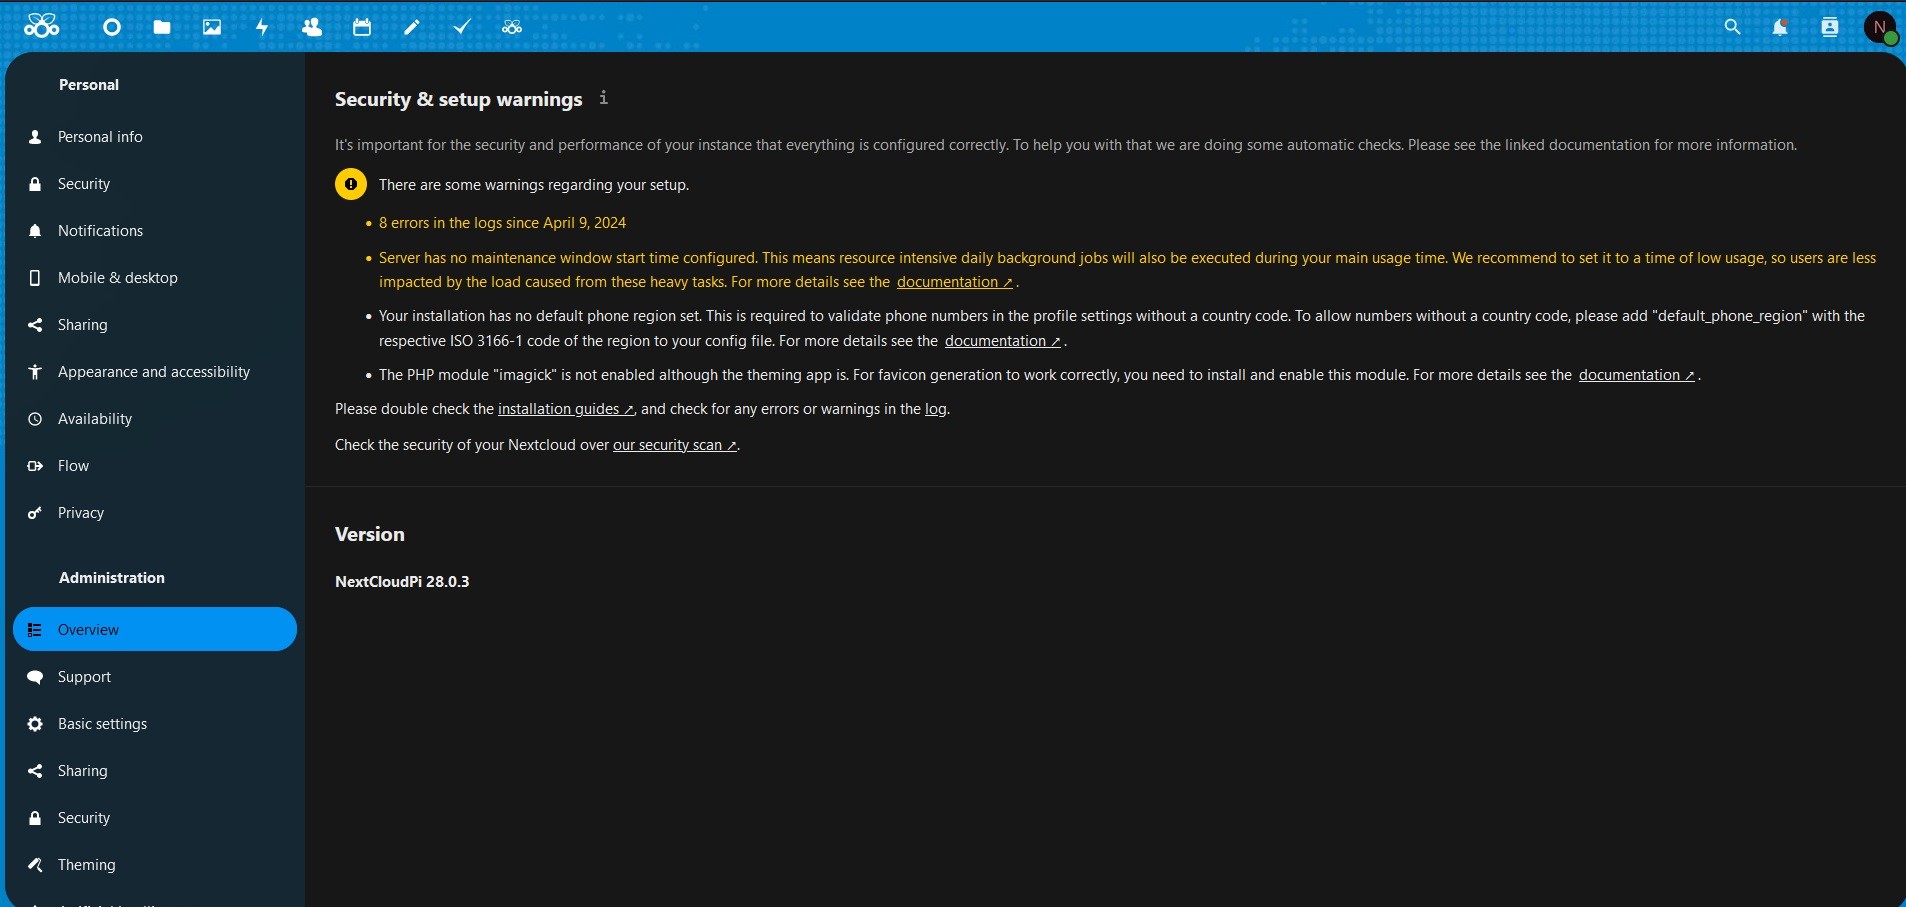
First we will start by fixing these warnings
    Server has no maintenance window start time configured. This means resource intensive daily background jobs will also be executed during your main usage time. We recommend to set it to a time of low usage, so users are less impacted by the load caused from these heavy tasks. For more details see the documentation ↗.

    Your installation has no default phone region set. This is required to validate phone numbers in the profile settings without a country code. To allow numbers without a country code, please add "default_phone_region" with the respective ISO 3166-1 code of the region to your config file. For more details see the documentation ↗.
Enabling SSH
On the RaspberryPI Terminal, type
sudo raspi-config
Select Interfacing Options
Navigate to and select SSH
Choose Yes and Select OK
Click Finish
Connecting to Raspberry Pi Via SSH
Open up a Terminal on your Computer
Type in
ssh user@ip-address
Replace user with the user you created earlier
Replace ip-address with the IP of the Raspberry Pi
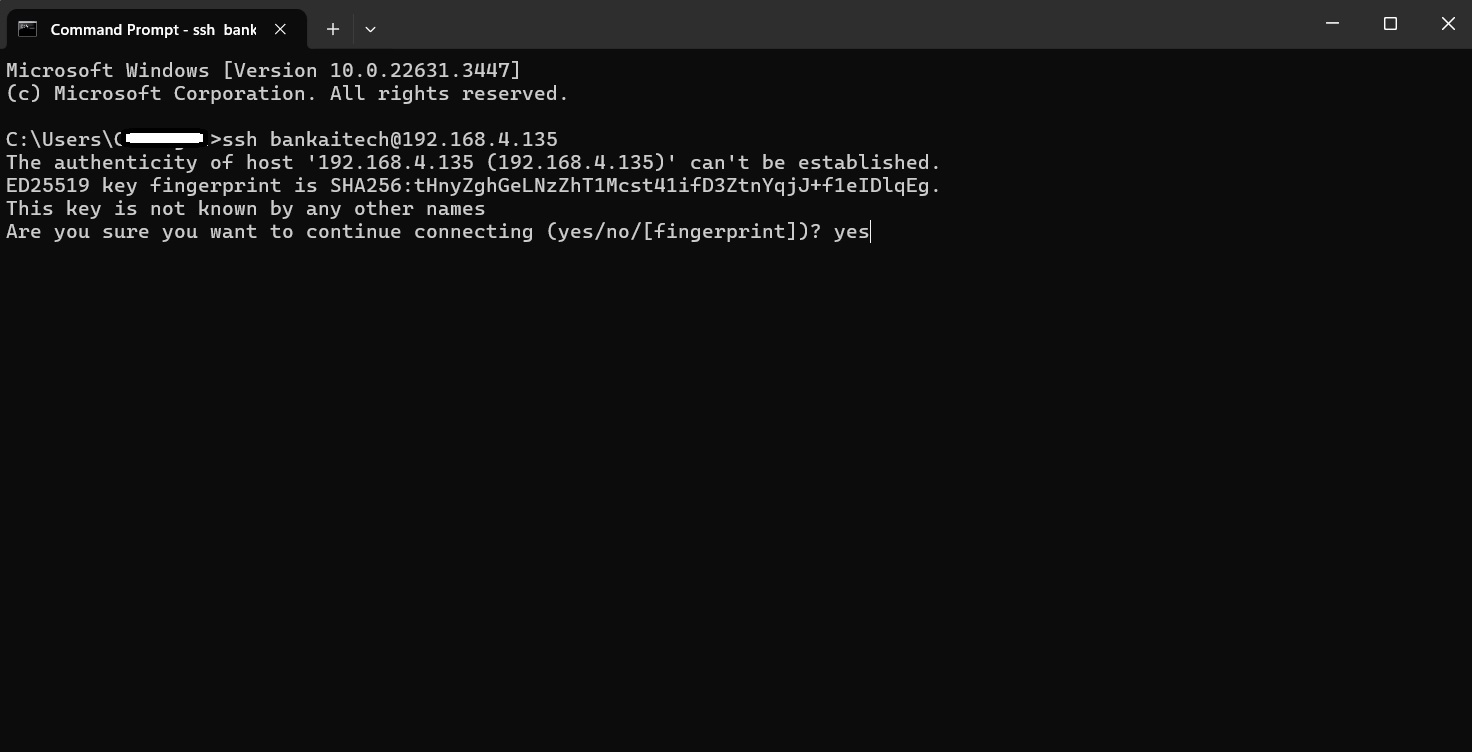
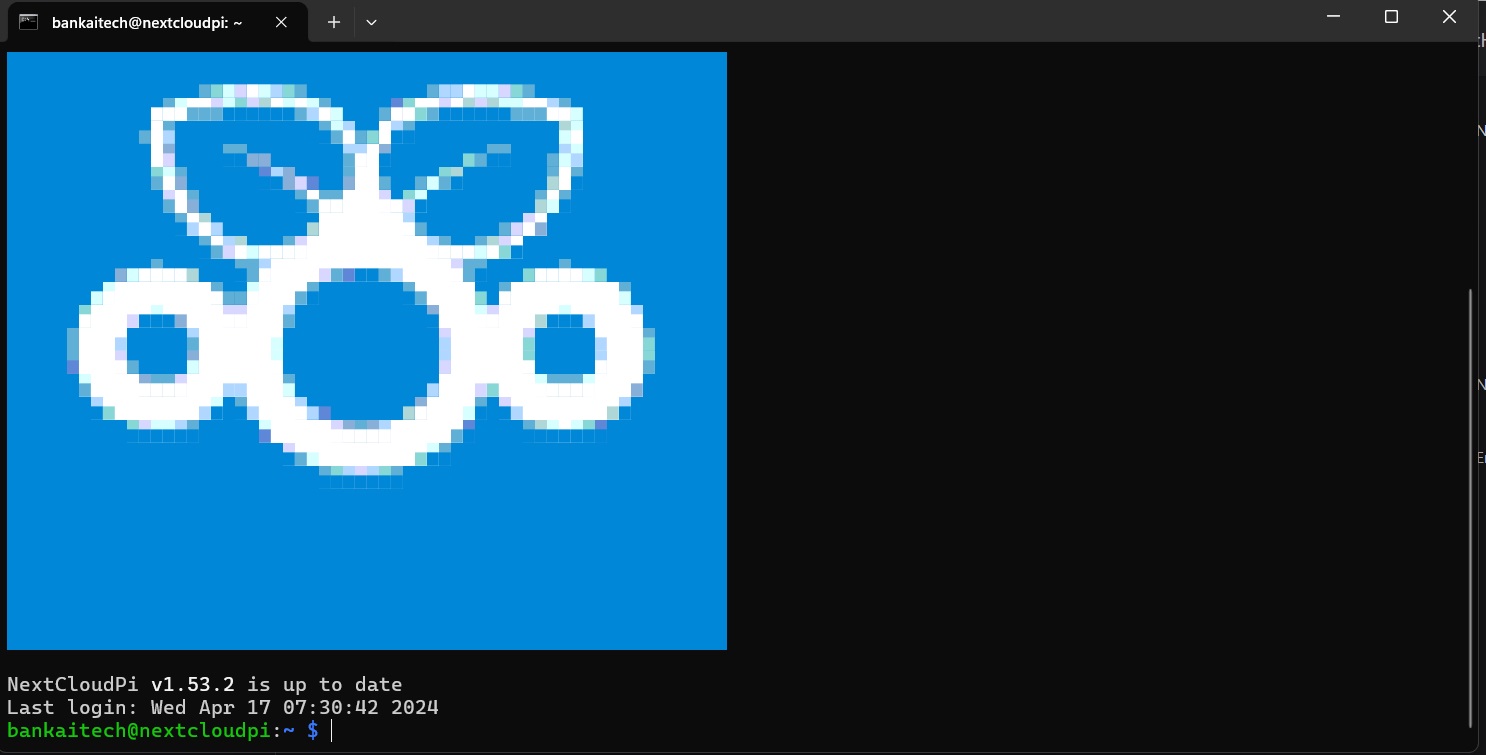
Your terminal should now look like this

💬 Recent Comments