Minimal Install
Nextcloud Installation using Docker Compose
This method includes Redis and MariaDB
First lets update your system.
sudo apt-get update && apt-get upgrade -y
Setting up the directories
Now lets setup the Directories
You can change the directories to your liking.
sudo mkdir /var/docker && sudo mkdir /var/docker/nextcloud
Lets take ownership of the directory
sudo chown -R 1000:1000 /var/docker
Creating .env files
Now lets make an Environment File with Interpolation file in the new directory.
cd /var/docker/nextcloud
Now lets make the environment file.
nano .env
When editing the configuration below, remove all instances of <> from the values
Paste the Following
# Nextcloud & MariaDB
# Directory paths for persistent data storage
DATA_LOCATION=./nextcloud
DB_DATA_LOCATION=./mariadb
PORT=8080
NEXTCLOUD_TRUSTED_DOMAINS=cloud.<YourDomain>.com
TRUSTED_PROXIES=<IP address of your Reverse Proxy>
OVERWRITEPROTOCOL=https
OVERWRITECLIURL=https://cloud.<YourDomain>.com
REDIS_HOST=redis
REDIS_PORT=6379
PHP_MEMORY_LIMIT=512M
PHP_UPLOAD_LIMIT=100M
NEXTCLOUD_ADMIN_USER=admin
NEXTCLOUD_ADMIN_PASSWORD=password
MYSQL_PASSWORD=CHANGEME
MYSQL_ROOT_PASSWORD=CHANGEME
MARIADB_AUTO_UPGRADE=true
MYSQL_DATABASE=nextcloud
MYSQL_USER=nextcloud
MYSQL_HOST=mariadb
Please Change CHANGEME to a password of your choosing.
Refrain from using Special characters for you MySQL Passwords.
Ex. ‘ ~ ! @ # $ % ^ & * ( ) _ - + = { } [ ] / < > , . ; ? ' : | (space)
Save the new file by pressing CTRL+X
Creating the Compose file
Now lets create the compose file.
nano docker-compose.yaml
Paste this into the file
name: nextcloud

services:
  mariadb:
    image: mariadb:10.11
    container_name: mariadb
    restart: always
    command: --transaction-isolation=READ-COMMITTED --log-bin=binlog --binlog-format=ROW
    volumes:
      - ${DB_DATA_LOCATION}:/var/lib/mysql
    env_file:
      - .env
    networks:
      - nextcloud

  nextcloud:
    image: nextcloud:production
    container_name: nextcloud
    restart: always
    ports:
      - ${PORT}:80
    links:
      - mariadb
      - redis
    volumes:
      - ${DATA_LOCATION}:/var/www/html
    env_file:
      - .env
    networks:
      - nextcloud

  redis:
    container_name: redis
    image: redis:latest
    volumes:           # Optional
      - type: tmpfs    # Optional
        target: /data  # Optional
        tmpfs:         # Optional
          size: 1073741824 # 1GB "Optional"
    expose:
      - 6379
    command: redis-server --save 60 1 --loglevel warning
    networks:
      - nextcloud
    restart: always

  watchtower:
    container_name: watchtower
    image: containrrr/watchtower
    volumes:
      - /var/run/docker.sock:/var/run/docker.sock

networks:
  nextcloud:
    driver: bridge
tmpfs uses memory (RAM), adjust the value as needed or optionally remove the volume section from the redis container
Starting Nextcloud
Now lets start it up.
sudo docker compose up -d
the -d flag stands for detatched mode.
After its done pulling the docker images you can open up a web browser.
Before proceeding, you will need to configure your reverse proxy. I have an example Nginx config Here.
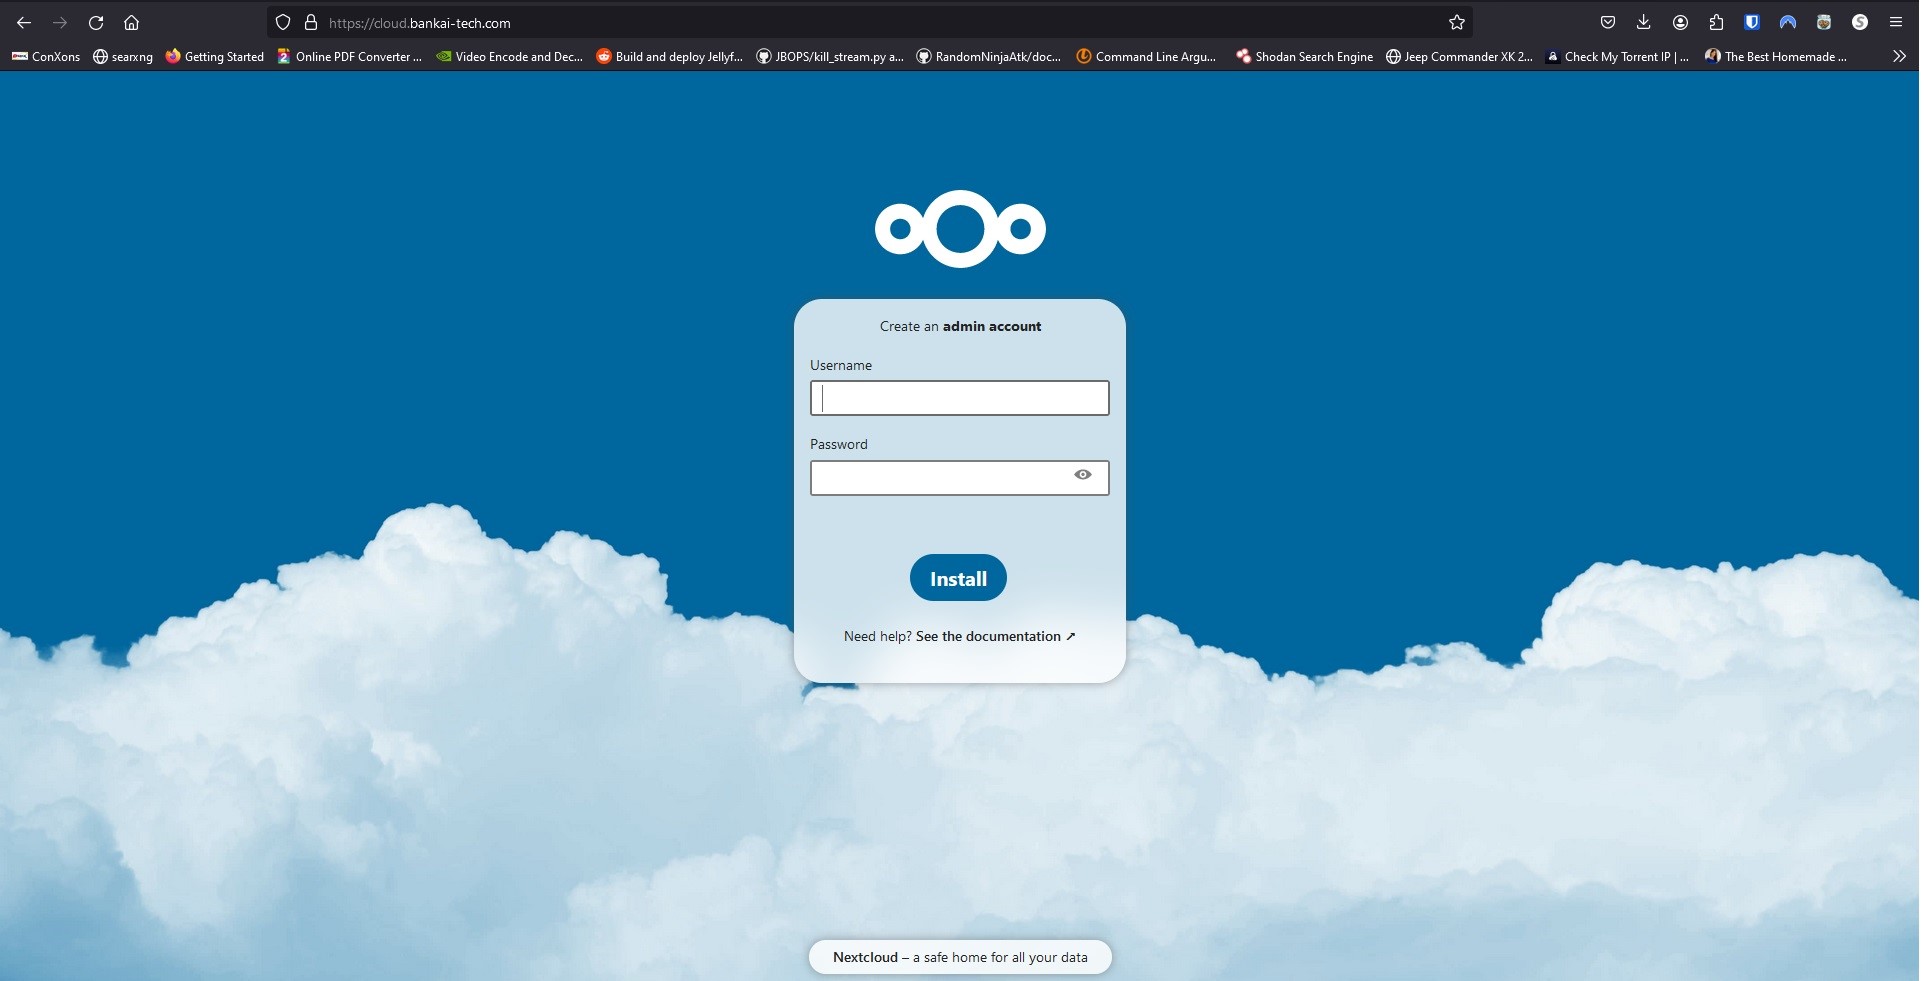
Connect to nextcloud by typing in your configured domain
You should see this screen.
If you see this warning
Performance warning

You chose SQLite as database.

SQLite should only be used for minimal and development instances. For production we recommend a different database backend.

If you use clients for file syncing, the use of SQLite is highly discouraged.
You will need to click the drop down and select MySQL/MariaDB and type in the info manually.
- database account: nextcloud
- database password: YOUR_PASSWORD_FROM .env
- database name: nextcloud
- database host: mariadb:3306
Account Creation
Now create an admin account and click Install
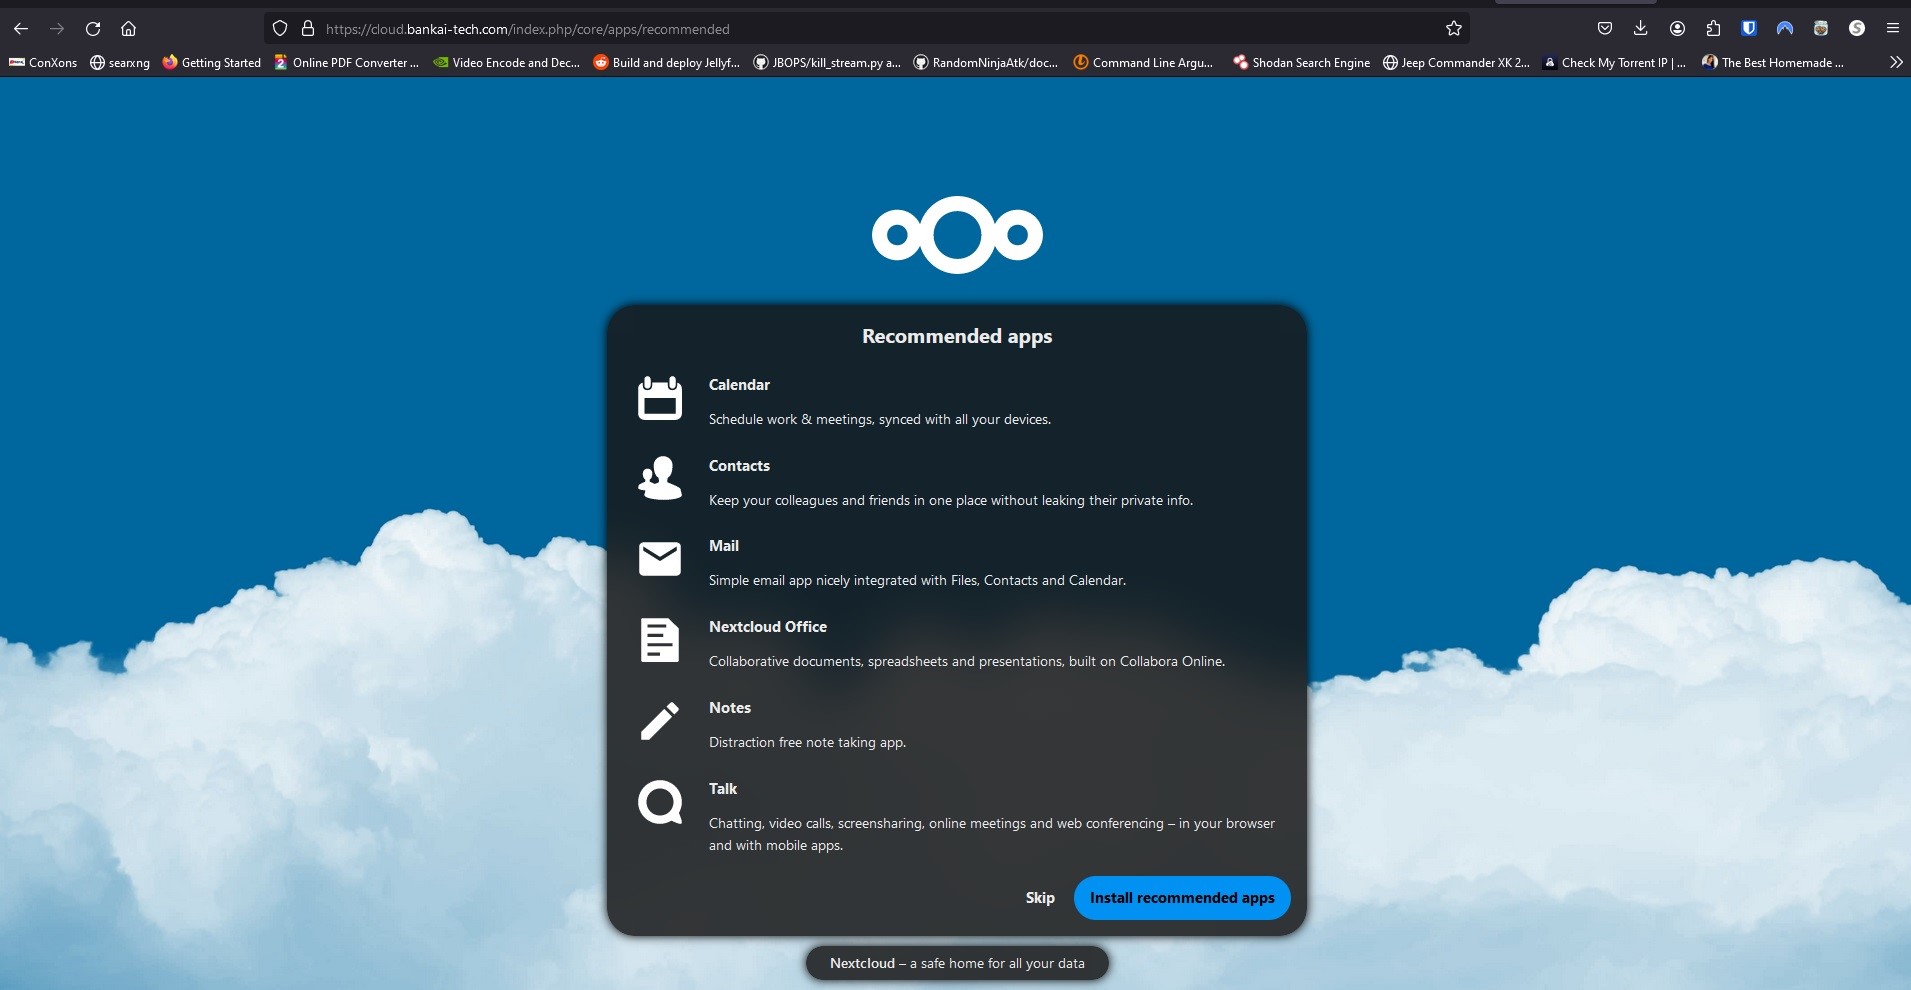
Click Install Recommended Apps
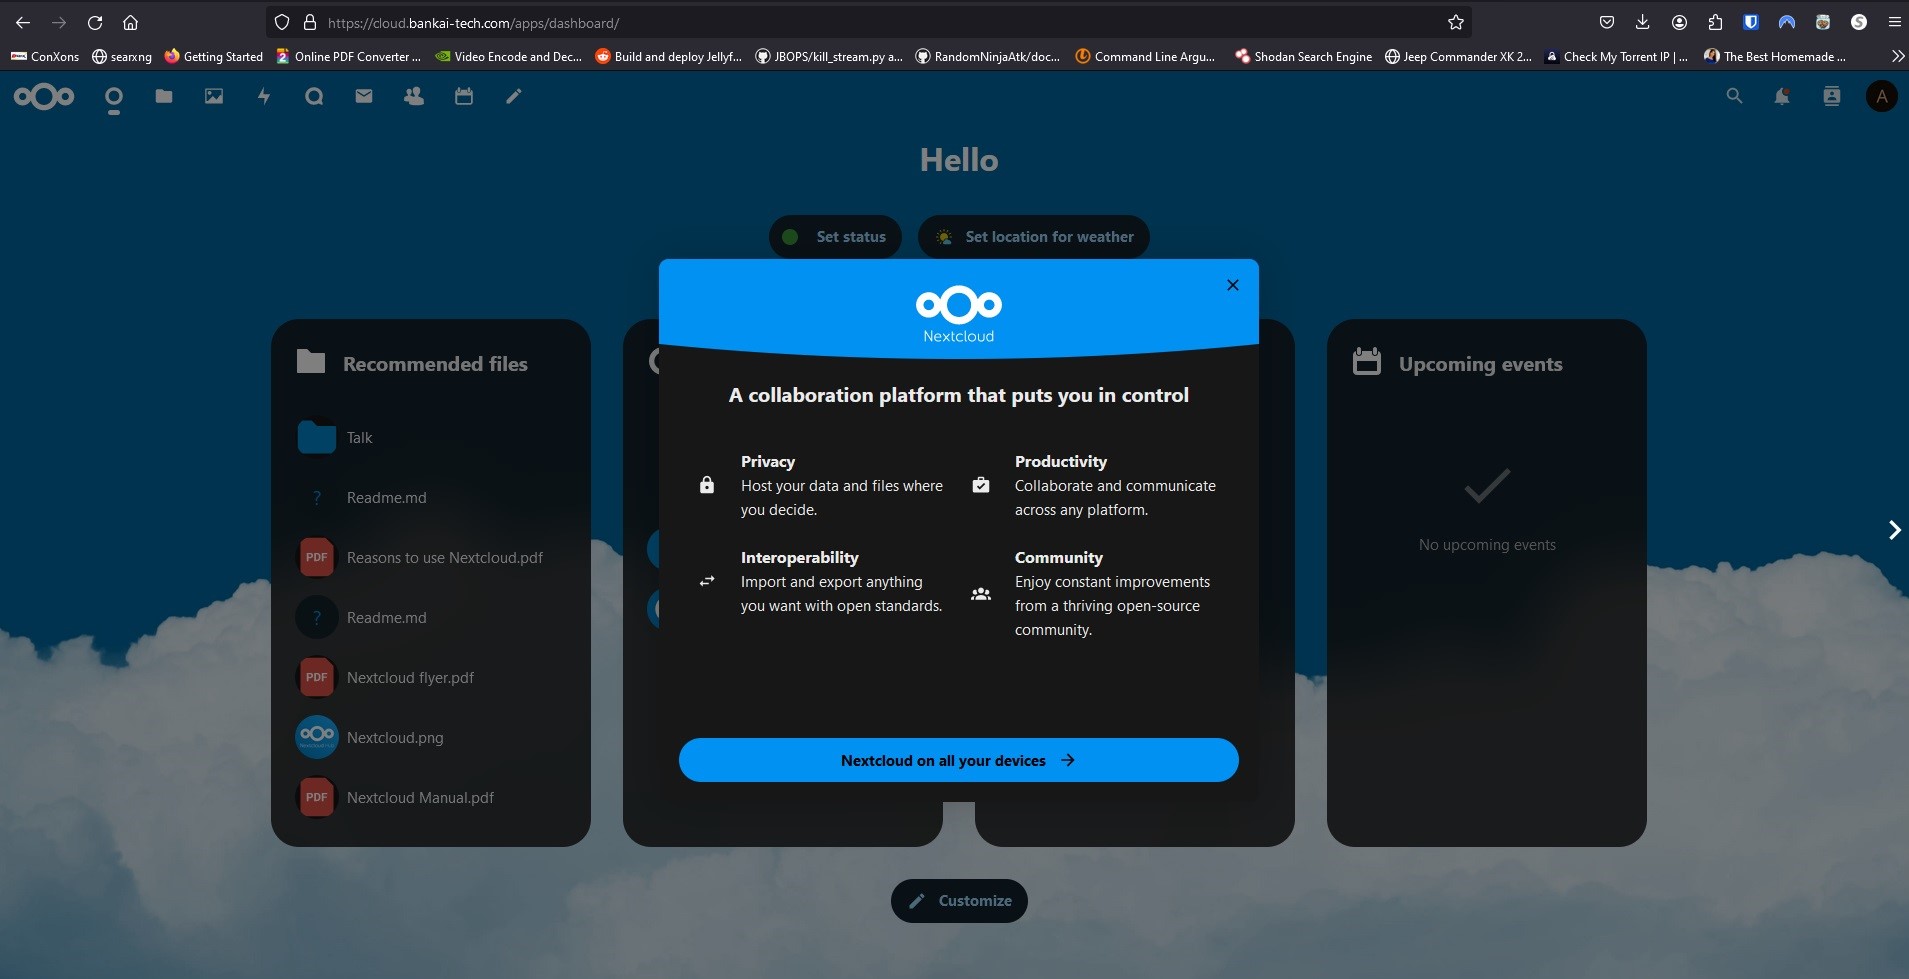
When its done installing you should see your Dashboard
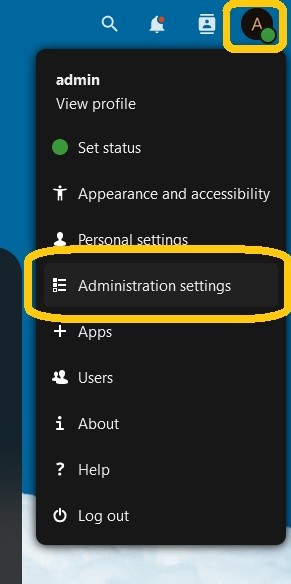
Checking for errors and warnings
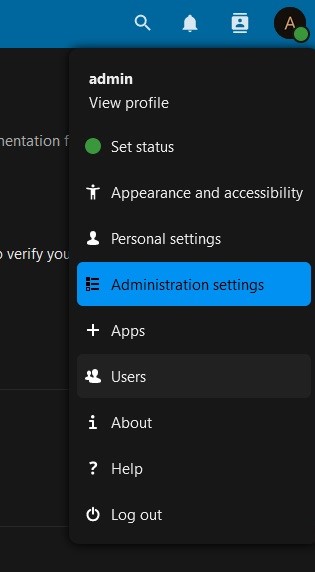
On the top right click the User Icon and go to Administration Settings
Here you should see Security & Setup Warnings
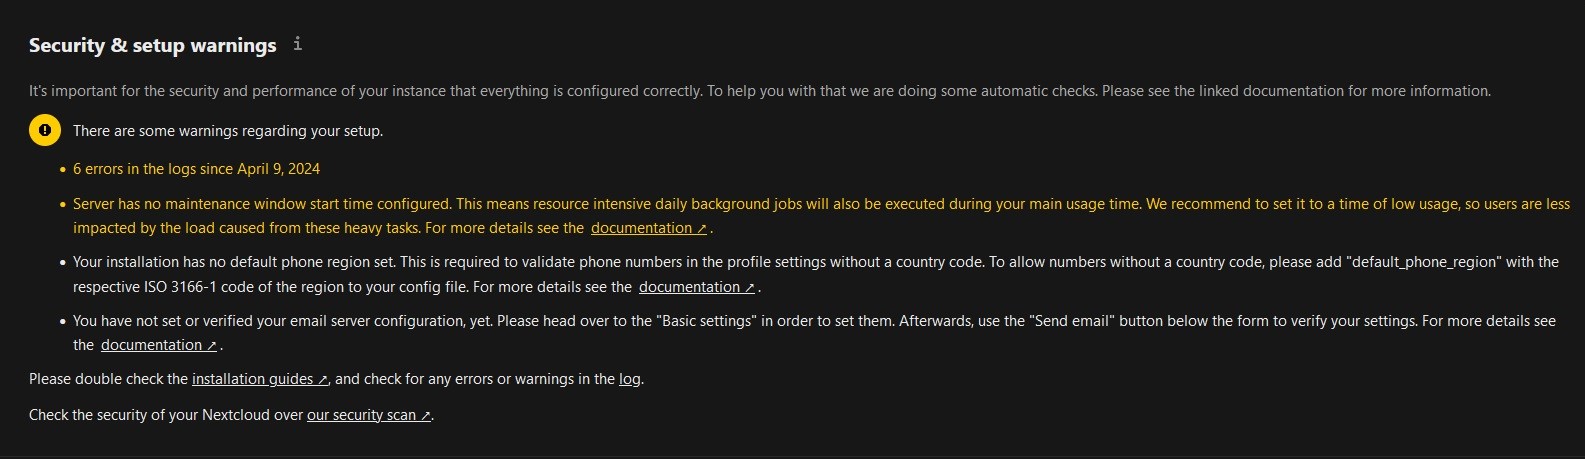
In order to fix the Maintenance Window and the Phone Region warnings, we will have to edit our config.php file.
Modifying the config.php file
Run the following command to open the config.php file with nano.
nano nextcloud/config/config.php
If you recieved an error Directory nextcloud doesnt exist, then you need to change directories.
Run cd /var/docker/nextcloud then try again.
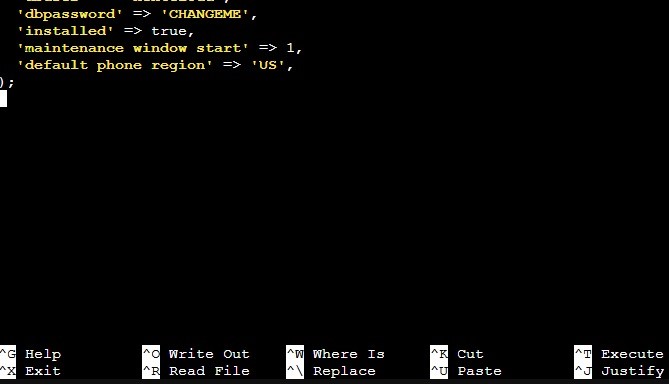
Now add the following to the bottom of the file.
  'maintenance_window_start' => 1,
  'default_phone_region' => 'US',
Now if you go back to your Administration Settings Page.
It should look something like this.
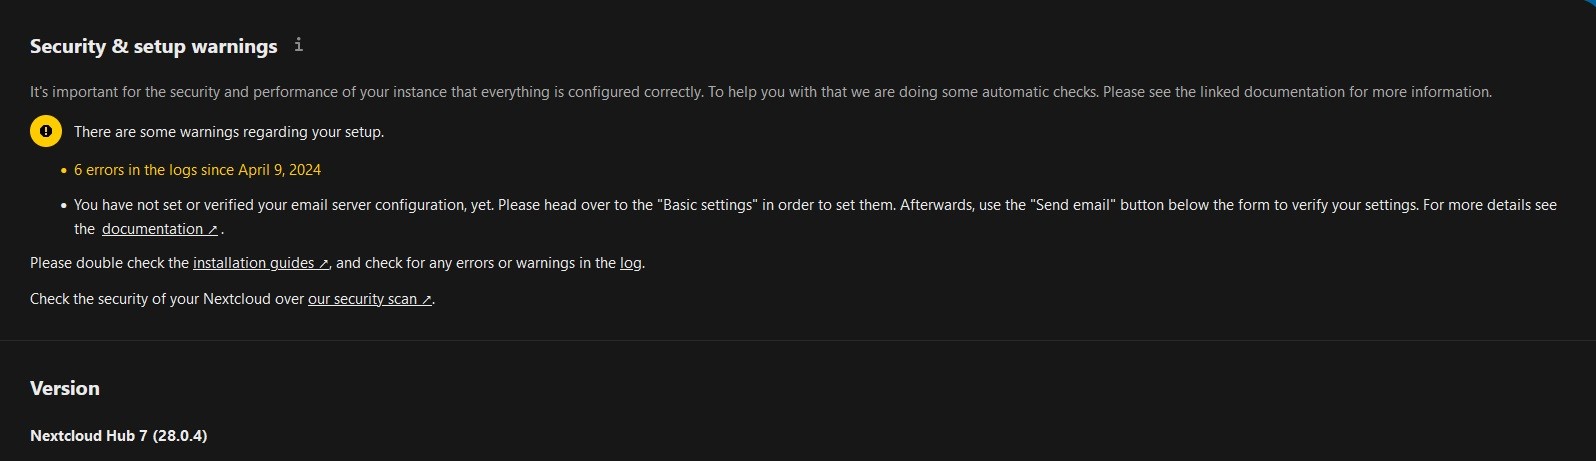
In some cases, you may have to delete your browser cache and restart the browser for the Warnings to update.
Creating production use user
Now you can go create a user for yourself.
Go to the user icon on the top right and select Users.
Click on Add User on the left hand side.
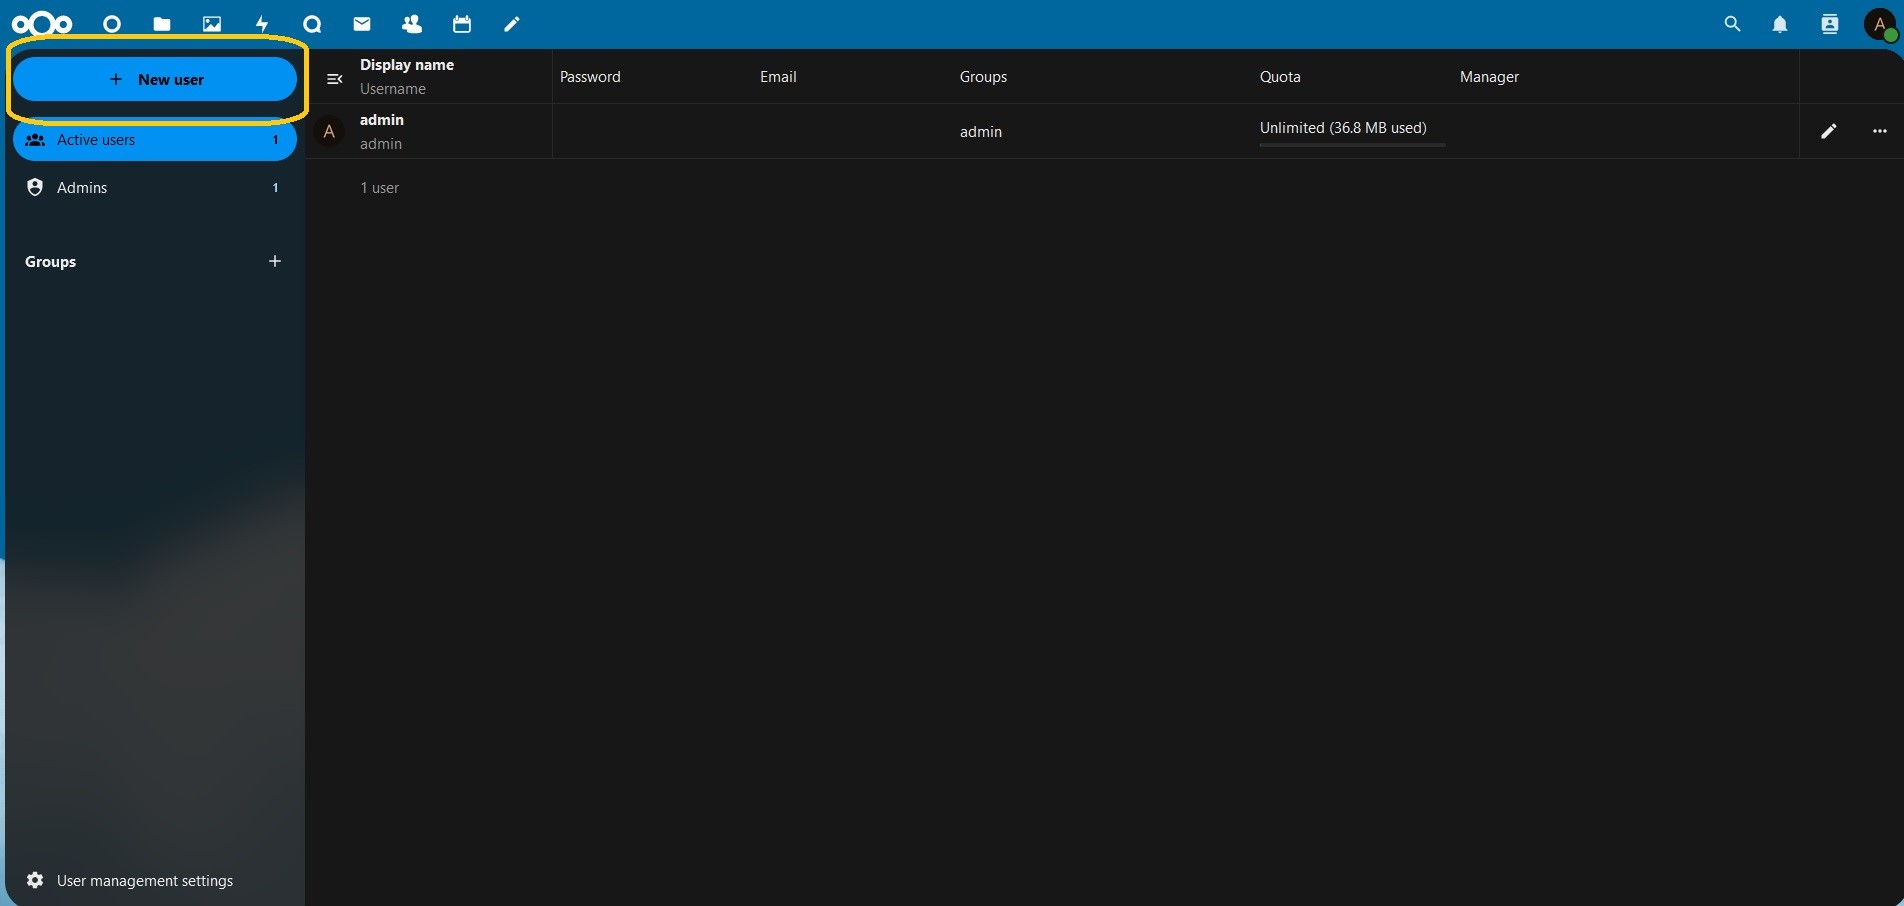
Now create your User.
Make sure to set Groups to admin

Congragulations!! you have installed Nextcloud!
